It all started with this.....

It all started with an antique quilt given to me by my Uncle Cliff in 1985. It was made by my Great Grandmother using original fabrics spanning from the 1860's to the 1930's, in a string quilt pattern. All strings were hand pieced. All fabrics were loved. I can imagine Grandpa's shirts, or Grandma's housedress or apron. And now I'm the fortunate steward of this wonderful bit of family history........all made by hand.

Thursday, July 31, 2014

Sweet Dreams!


Dream catcher 101.....

I can’t say I’ve ever been drawn to dream catchers.  That may be because I’ve never inspected them up close, nor have I made one, or really got what they are all about.  Until today, when my crafty pal asked me if I’d like to make one with her.

Hung above the bed, the Ojibwe Indians believe dream catchers change a person’s dreams, that only good dreams would be allowed to filter through. Bad dreams would be caught in the net whereas good dreams pass through and slide down the feathers to the sleeper.  Lakota origins say nightmares pass thru the holes and out the window.  The good dreams are trapped in the web and slide down to the sleeping person.  Either way, good dreams should take over.

Kimi brought the embroidery hoop and some variegated yarn purchased from Joann’s, and enough enthusiasm for both of us.  After doing Google search due diligence we narrowed in on several designs for inspiration.  We pulled a nice range of ribbons, trims, beads and embroidery floss and got started. And most importantly, we selected 5 perfect turkey feathers from the turkey she shot last fall, making the design even more meaningful. 

We had a blast.  She was a natural weaving the yarn tightly around the hoop and the floss into the intricate lace pattern web in the center.  The variegated yarn set the color tone from then on…..blue for the sky, purple for sunrise, white for clouds, all set against the brown and grey earth tones of the feathers.  simply lovely.........sweet dreams!

Saturday, July 26, 2014

A bad day in your studio is better than the best day in the office

I may have retired six months ago, but I clearly remember the stress some days at work could feel like.  Since I did Sales/Account Management with long cycle times, it was tough to feel a sense of accomplishment.  You know, that pick it up, touch it, see what you did at the end of the day feeling.  That is why I sooo love making things.  It’s tangible, and tactile, and soothing.  Whether it’s a handmade from scratch loaf of bread coming out of your oven, or putting a finishing coat of wax on a newly made wood cabinet, or the final stitch on a quilt, there is nothing so satisfying.

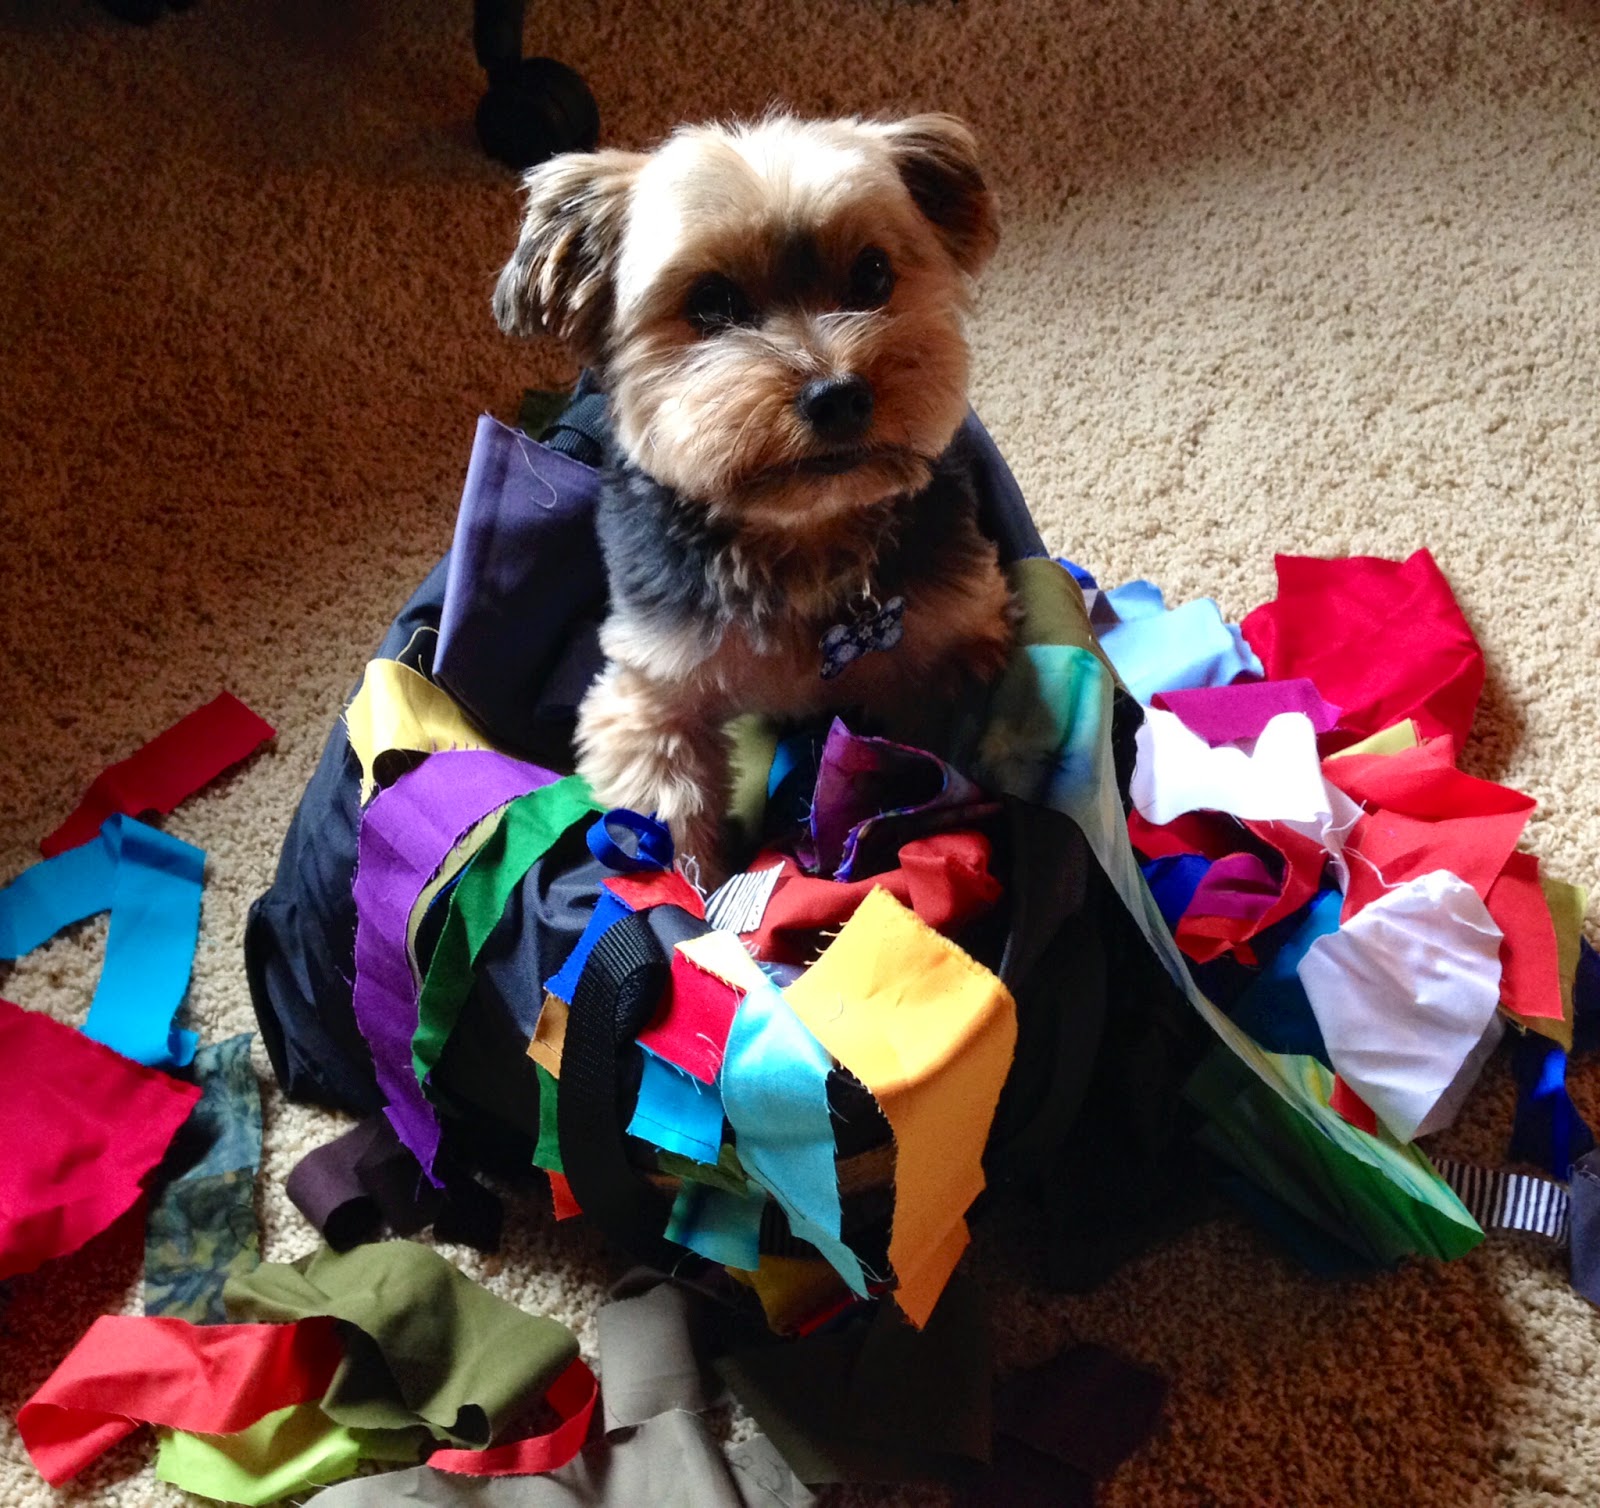
Today I had some help in the studio…..Buddy helped me pick out some fabrics. It was more like ‘put Buddy in the bag of Kona solids scraps and see him play’ mode.  We compromised on some of his selections, some clearly too dark for this project. 


I began by making basic random width strip sets.  Then I slit them into small slivers.  Next I sewed the slivers with sashing strips, producing a piece roughly 10” x 14”. 

Then I inserted the narrow black and white strip fabric on irregular diagonal lines.  I finished with self-backing, turn inside out and a few whip stitches and black quilting and it’s ready to frame.  The final 7”x14” piece will be hand sewn onto white mat board with a white mat outer frame and finally black outer wood frame.  Soon to be hung on my studio wall…..or perhaps sold.  Either way, a great day in the studio indeed.

Happy feet......happy studio....

Now that my work space is back in order, I need to be more productive, right? There's no excuse with such an inspiring space.....unless all I want to do is daydream.  I hope you know I'm not bragging, I'm just so happy to have this space.

The exciting part of my new space is lining up the many projects in queue.  What to do first?!?!?!  I decided to dust off the paint brushes and re-purpose an old pair of leather mules.  They were very comfortable, but being well worn they needed a bit of TLC.  Now.....I can’t wait to wear them to my next quilting or artsy event. 

Here are the steps I followed to jazz them up, and give them a second life:

1.      Soak a cotton ball with nail polish remover and rub thoroughly over the leather to remove the shiny finish, then let dry thoroughly (see photo). This prepares the surface to accept the paints. 


2.    Using opaque acrylic paints, paint in your base coat colors as desired. I choice Daniel Smith artist grade because it’s somewhat elastic which will help reduce cracking once I start wearing them, its viscosity, plus I already had them.  Let dry thoroughly.

3.    Using the same paints and permanent paint markers draw in your design (see photo). Take your time as this can be a bit tricky due to the curves and how porous the leather.


4.    After everything has dried overnight, fill the inside of the shoe with newspaper to hold their shape and spray protective sealant such as spray polyurethane over the entire painted surface.  Let dry, repeat.  Let dry another 24 hours before wearing.

5.     Happy Feet!  Pretty cute, eh?!

Next I decided to give a primitive wooden plate a new life by added Zentangles(c) to it.  I love the simplicity of tools……pens and a surface to draw on, and a spray sealant to finish it.  I can feel the BP lower just working on it.  You can Zentangle(c) practically any surface, so put your thinking caps on!


Friday, July 25, 2014

Happy Studio

Well I’ve been offline for several weeks. But with good reason…..after all the fireworks and holiday celebrations we began a home project that included moving three rooms around.  At our age (and with my limitations) this takes a lot more time than we’d like to admit.  We had to carefully choreograph the move since the contents of each room would be shifted around, and pace ourselves so we didn’t end up in the hospital.  Luckily we had two teenagers help haul my MANY books up two flights of stairs….with no sign of stress whatsoever. 

But that was only the start.  You see, we needed to pack up the entire guest room, my old office space, and my sewing studio which occupied half of the family room and jockey them to different floors.  Now the guest room is in the lower level where my old office used to be, right next to the guest bathroom (wow, such logic!); my entire studio including all sewing and art equipment is now upstairs in the spacious area that used to be Aaron’s/guest room; and the family room, well, is just a very spacious family room again.  Everything is all spiffed up, carpets cleaned and back together and frankly, we love it.  I especially love it.  There are no remaining remnants of my old home office, which I’m glad to put behind me.  Aloha and adios Victor!  And now…..Happy (and creative) Studio! Sorry for the extra sunlight in the one shot......  Now I can get busy with the many quilting and painting projects I have swirling in my head!